
Exporting Records to CSV Using ServiceNow Flow Designer
Exporting data from ServiceNow is a common requirement for many organizations, whether for reporting, data analysis, or integration with other systems. One of the powerful features of ServiceNow is the Flow Designer, which allows you to automate processes without writing code. In this post, we will walk through how to create a Flow in ServiceNow that exports records to a CSV file.
Prerequisites
Before we begin, ensure you have the following:
– Admin access to ServiceNow: You’ll need the necessary permissions to create and manage Flows.
– Knowledge of Flow Designer: Basic understanding of how Flow Designer works.
– Records to Export: Identify the records or the table you want to export.
Step 1: Identify the Records to Export
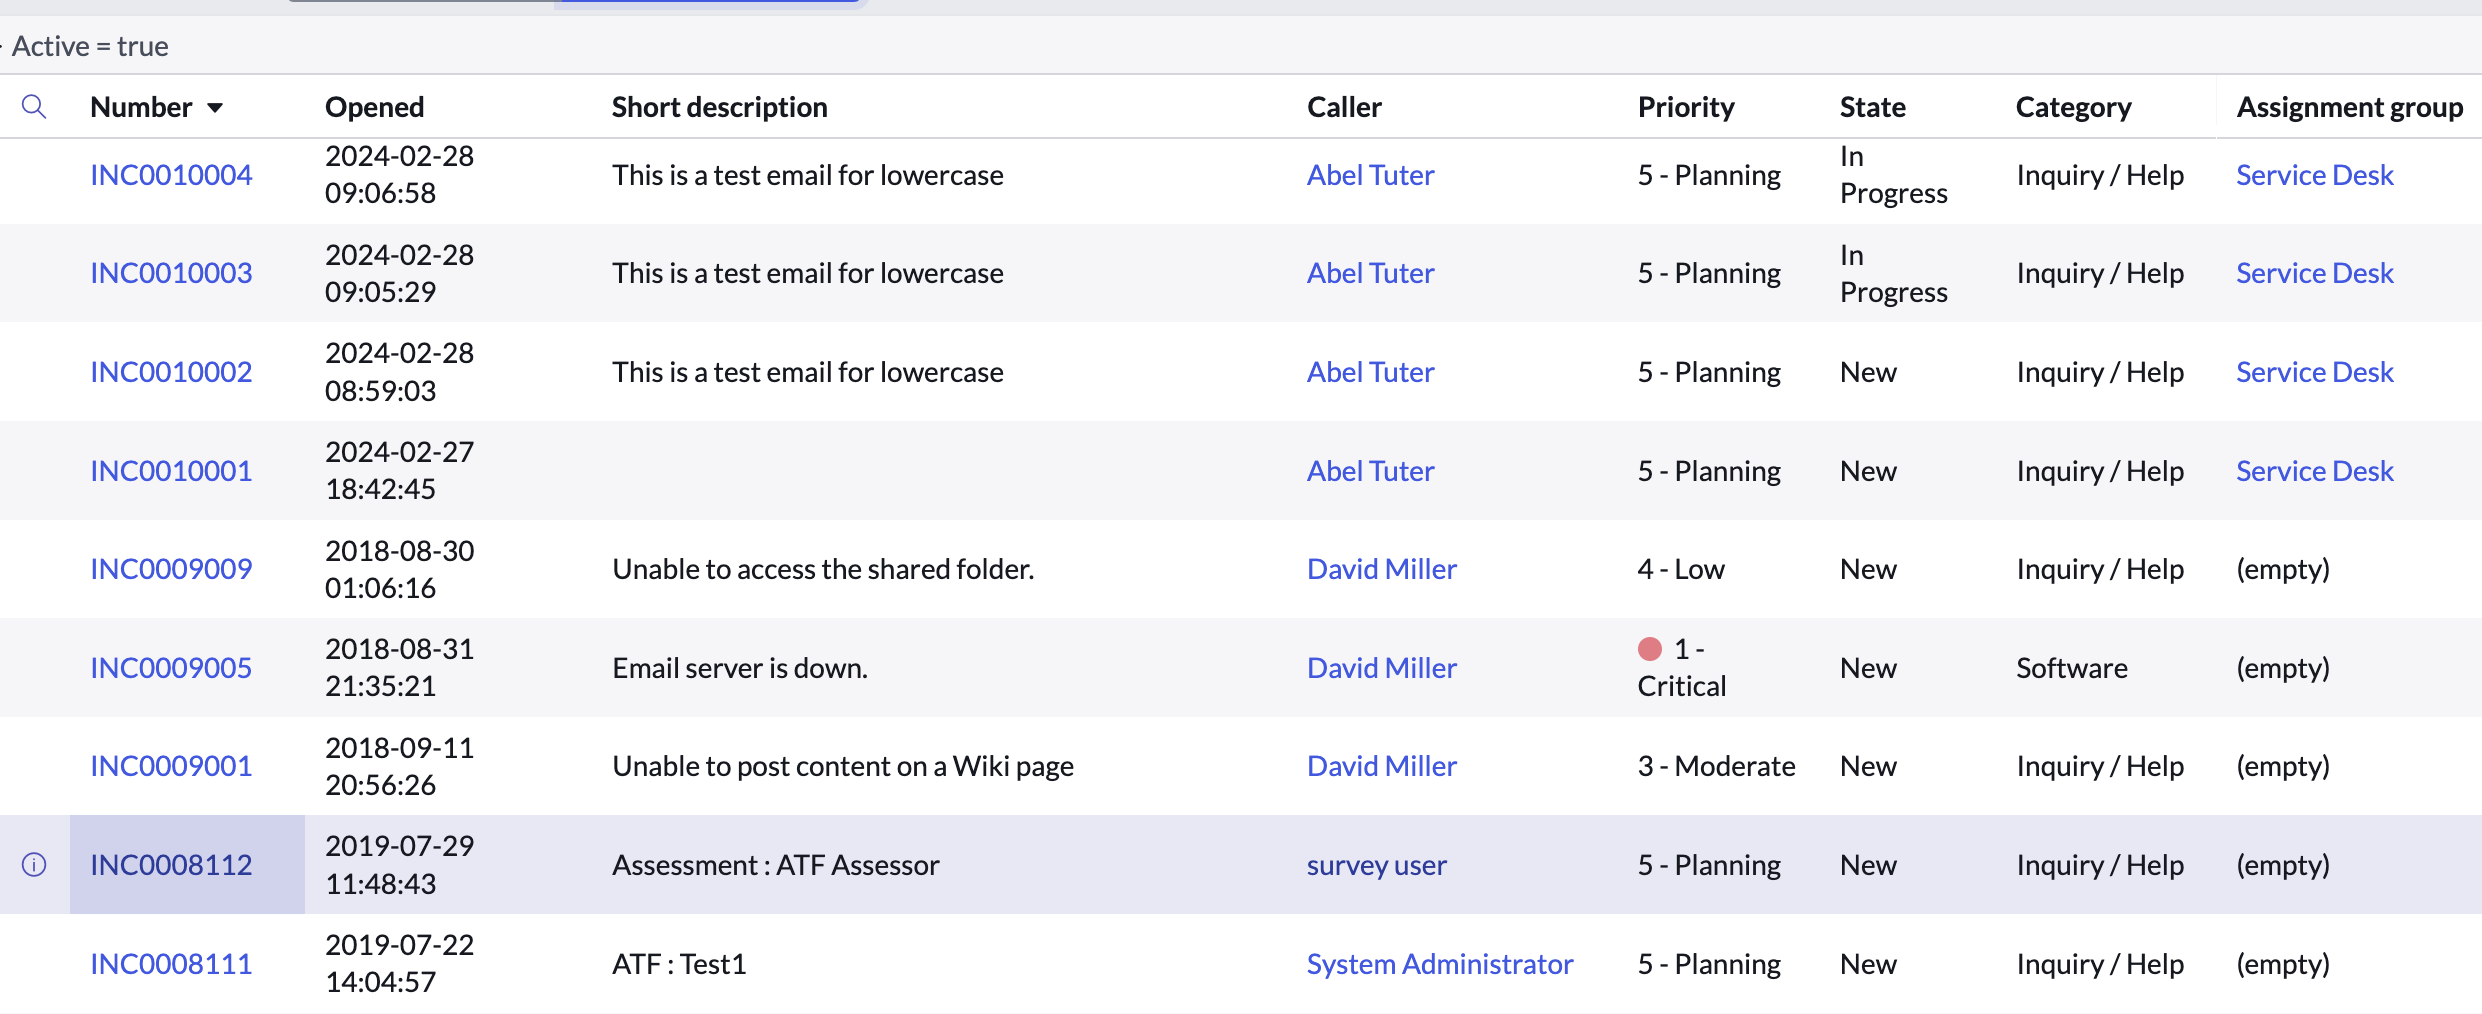
First, determine the table from which you want to export records. For example, you might want to export incident records, change requests, or custom records. Let’s say you want to export incident records that are in the “Resolved” state.
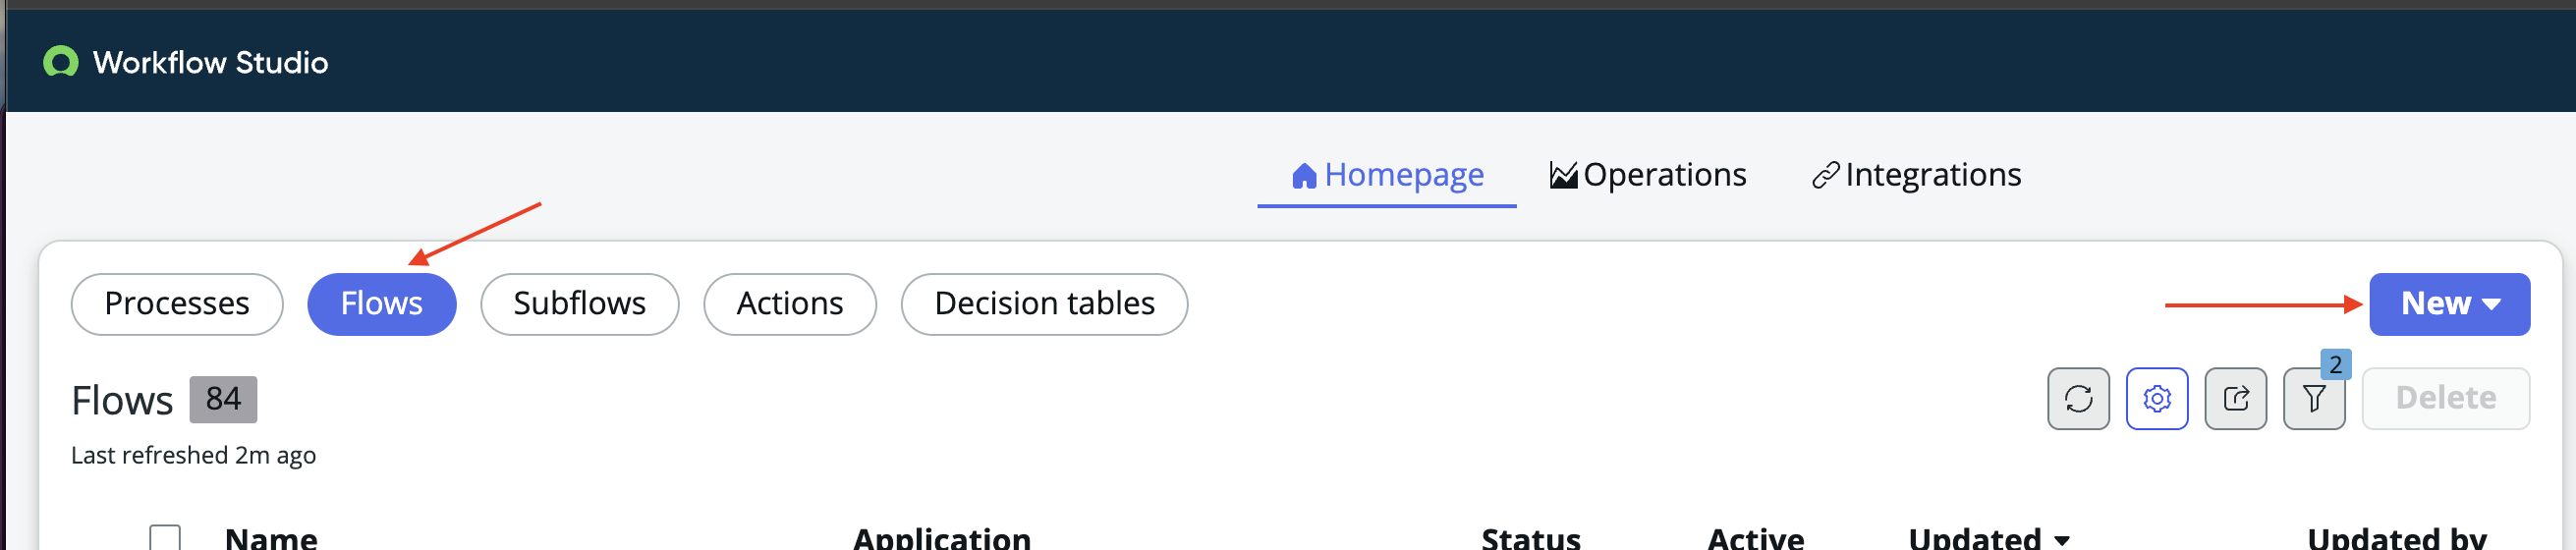
Step 2: Create a New Flow
1. Navigate to Flow Designer: Go to the application navigator and type `Flow Designer`. Click on it to open the Flow Designer interface.
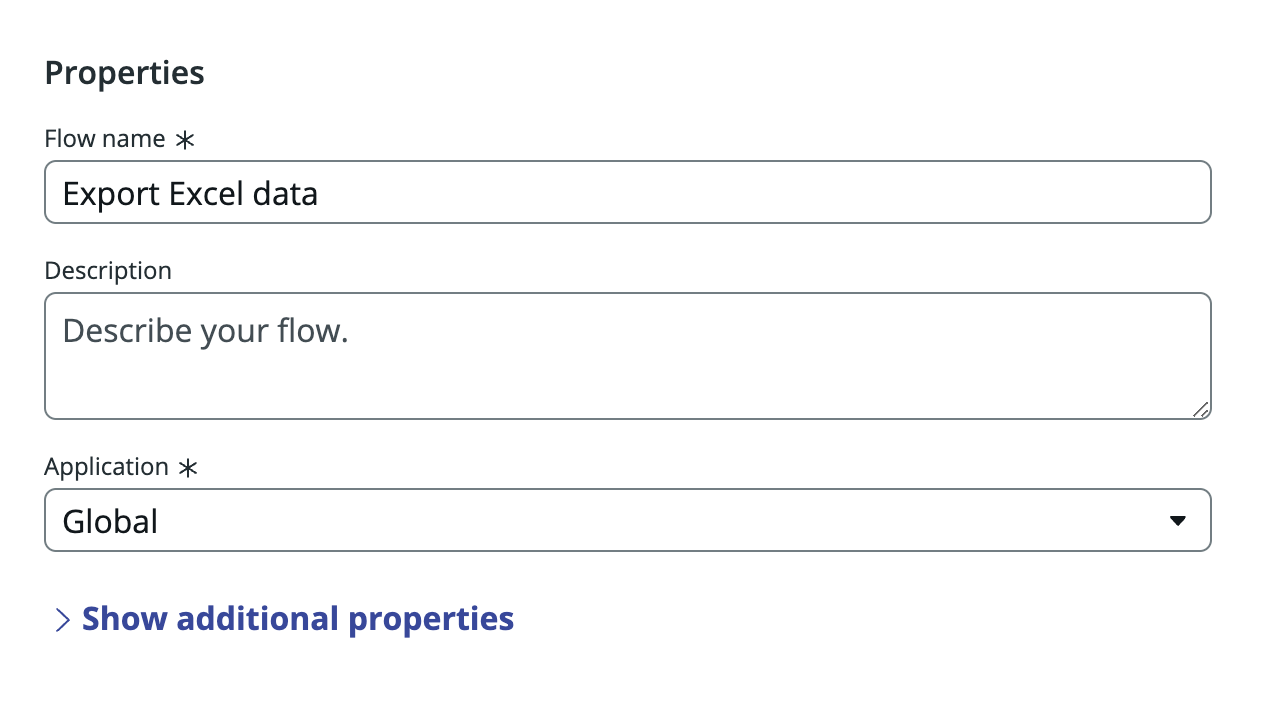
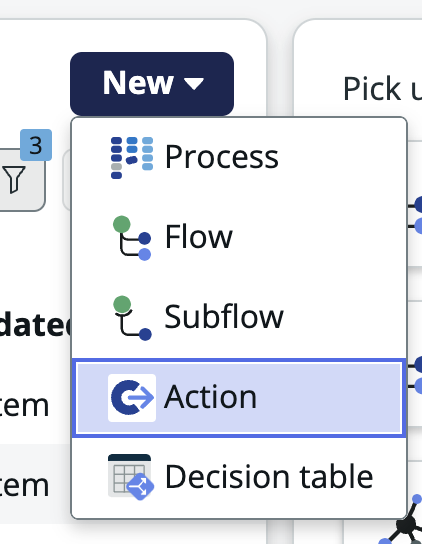
2. Create a New Flow:
– Click on `+ New` to create a new Flow.
– Give your Flow a meaningful name, such as “Export Resolved Incidents to CSV.”
Step 3: Add a Trigger
The Flow needs a trigger to start the process. Depending on your requirement, you can choose different types of triggers.
– Scheduled Trigger: This allows you to export records at regular intervals (e.g., daily, weekly).
– Click on `+ Add Trigger`.
– Select `Scheduled` as the trigger type.
– Configure the schedule as per your requirement, for instance, daily at midnight.
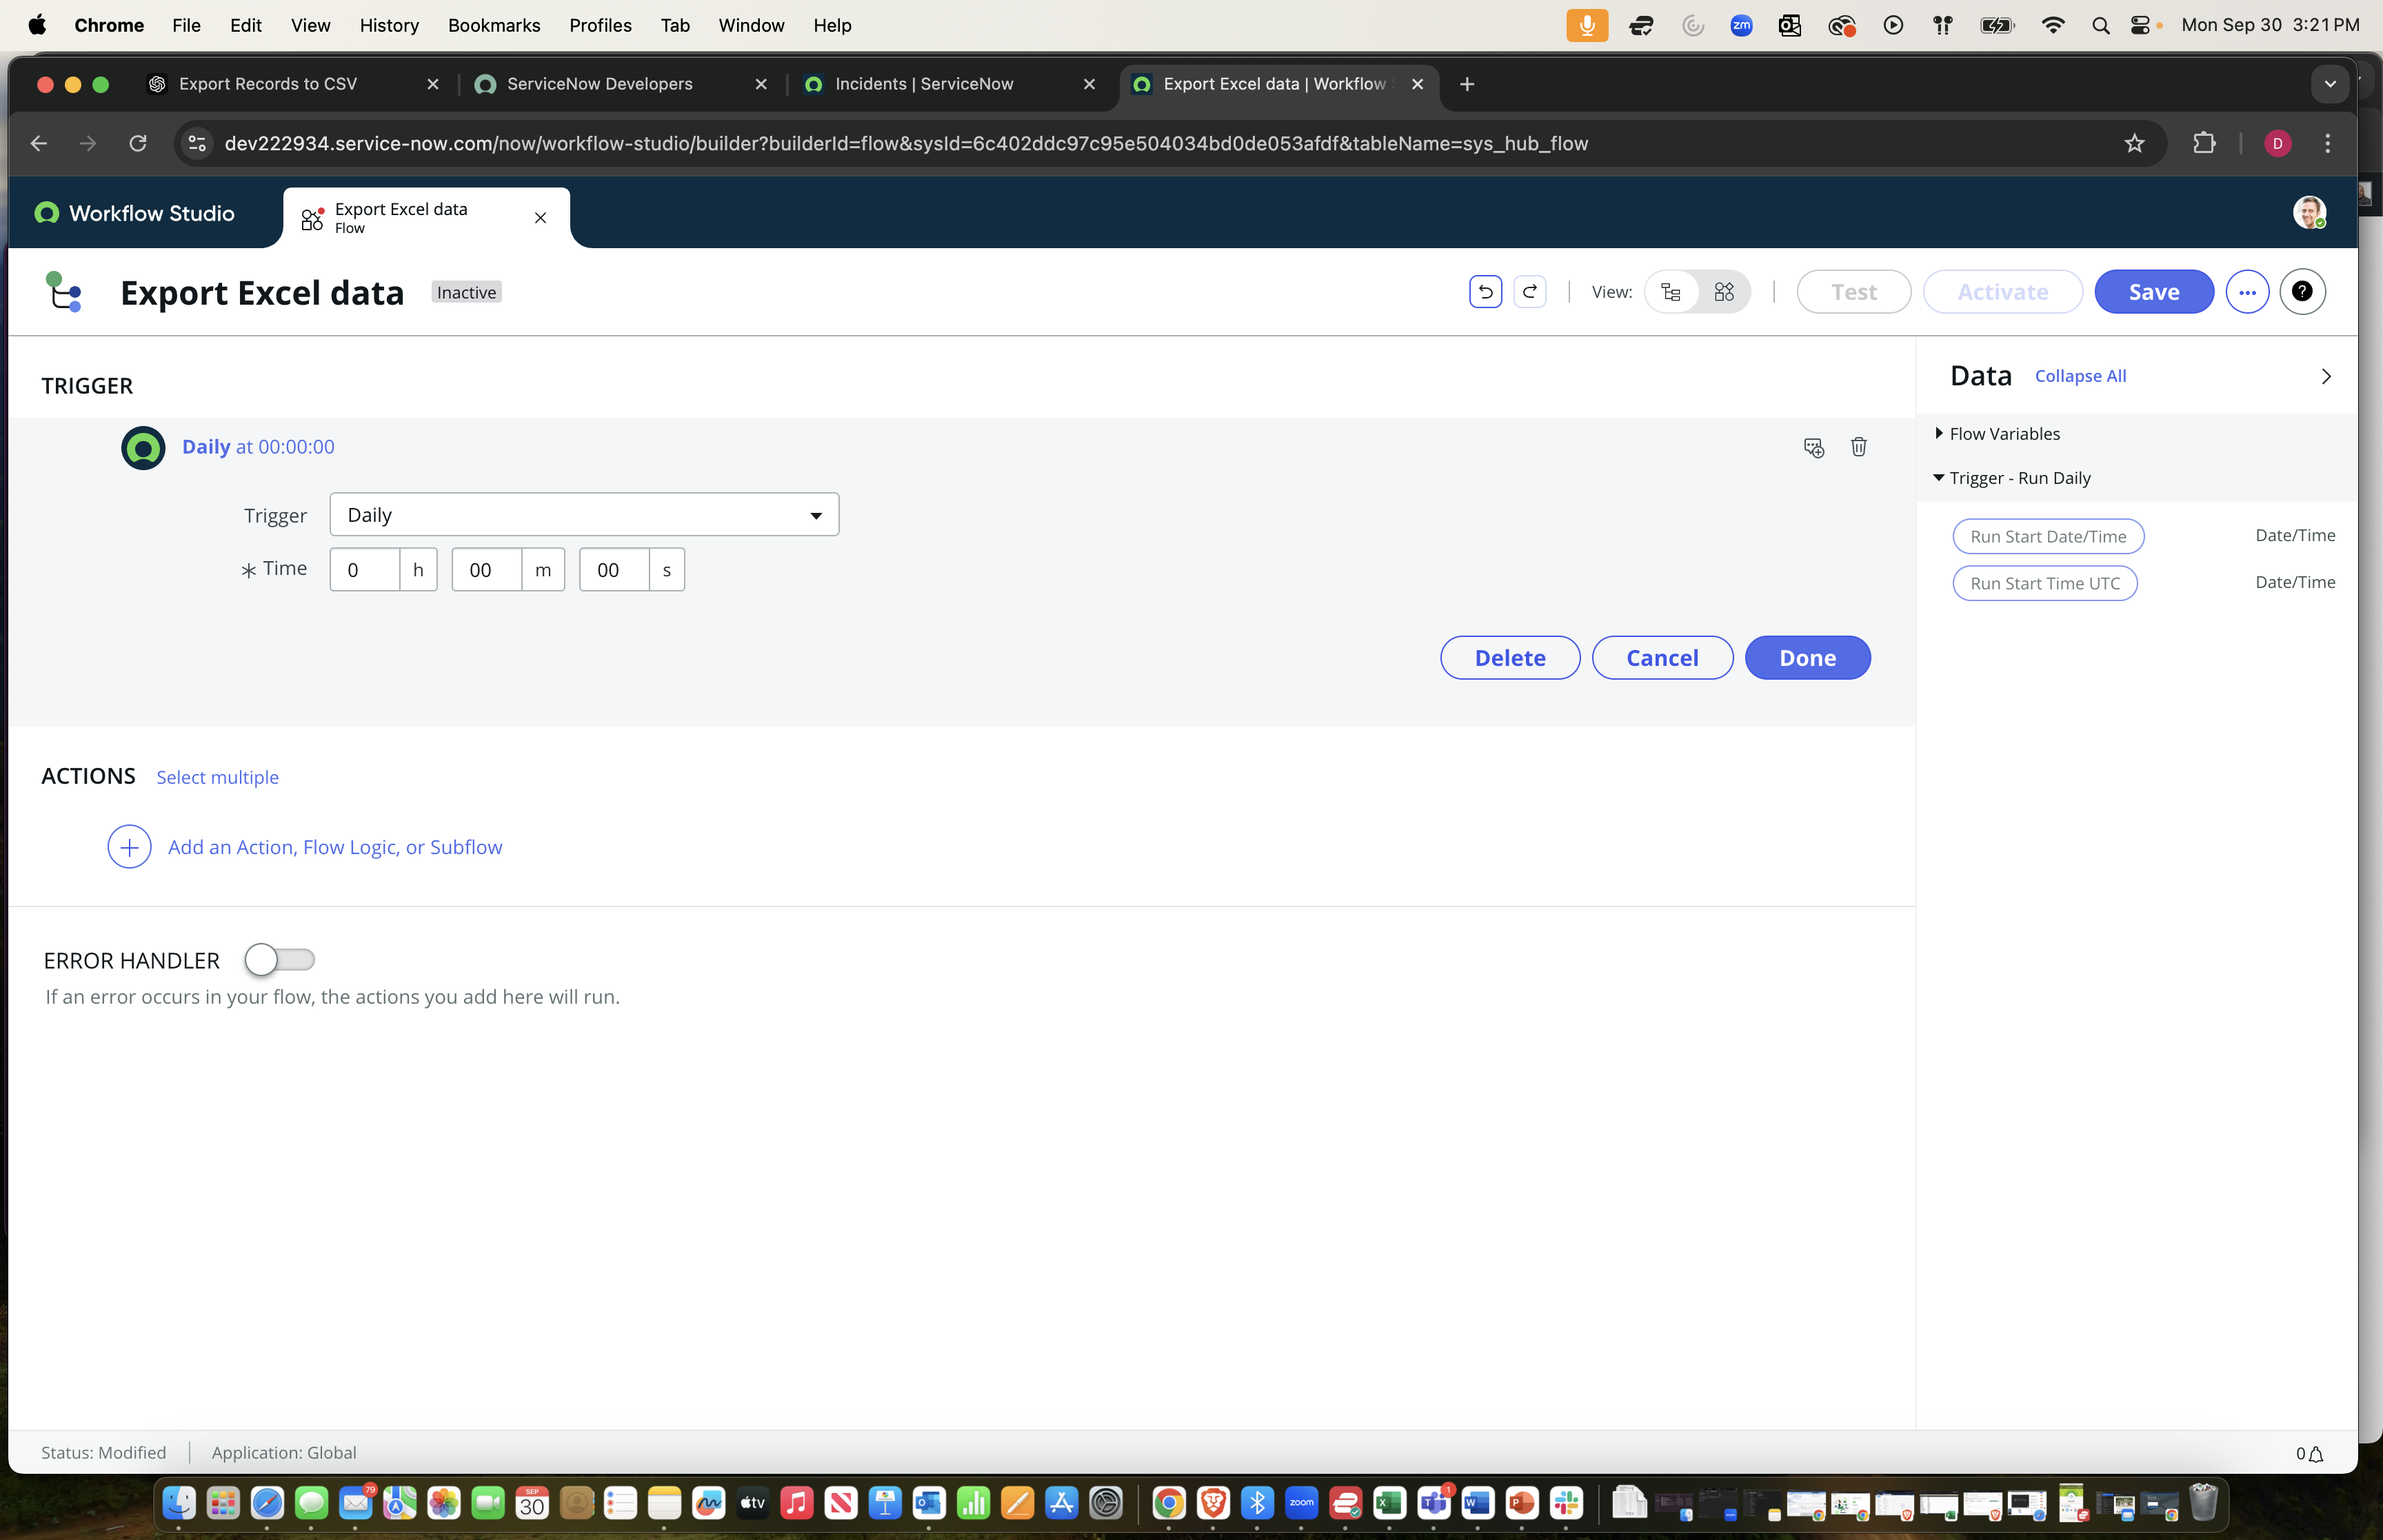
Step 4: Add an Action to Fetch Records
Now, you need to add an action to fetch the records that you want to export.
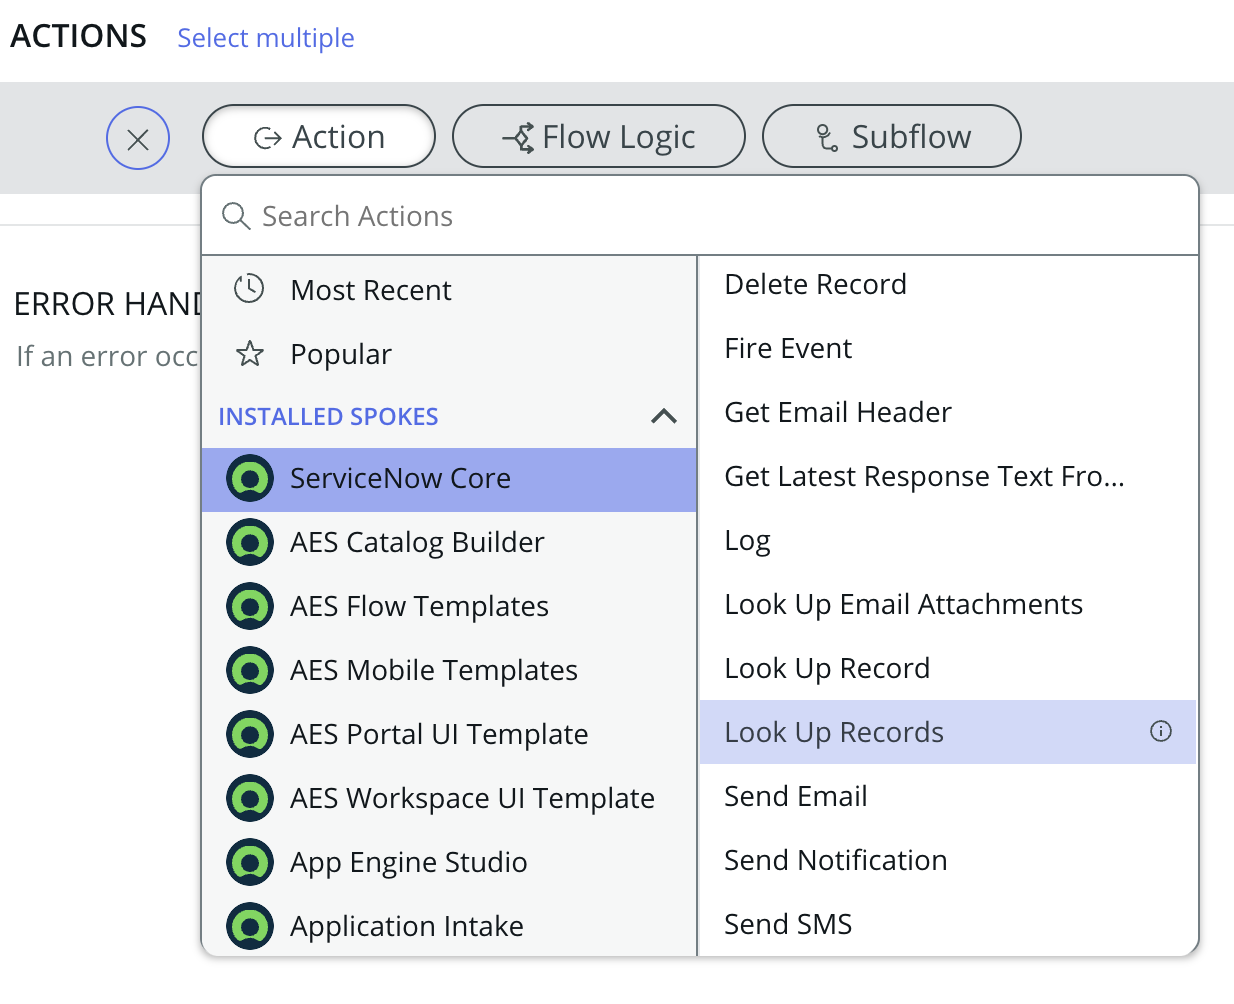
1. Add Action:
– Click on `+ Add Action` under the trigger.
– Choose `ServiceNow Core` as the action category.
– Select `Look Up Records` as the action.
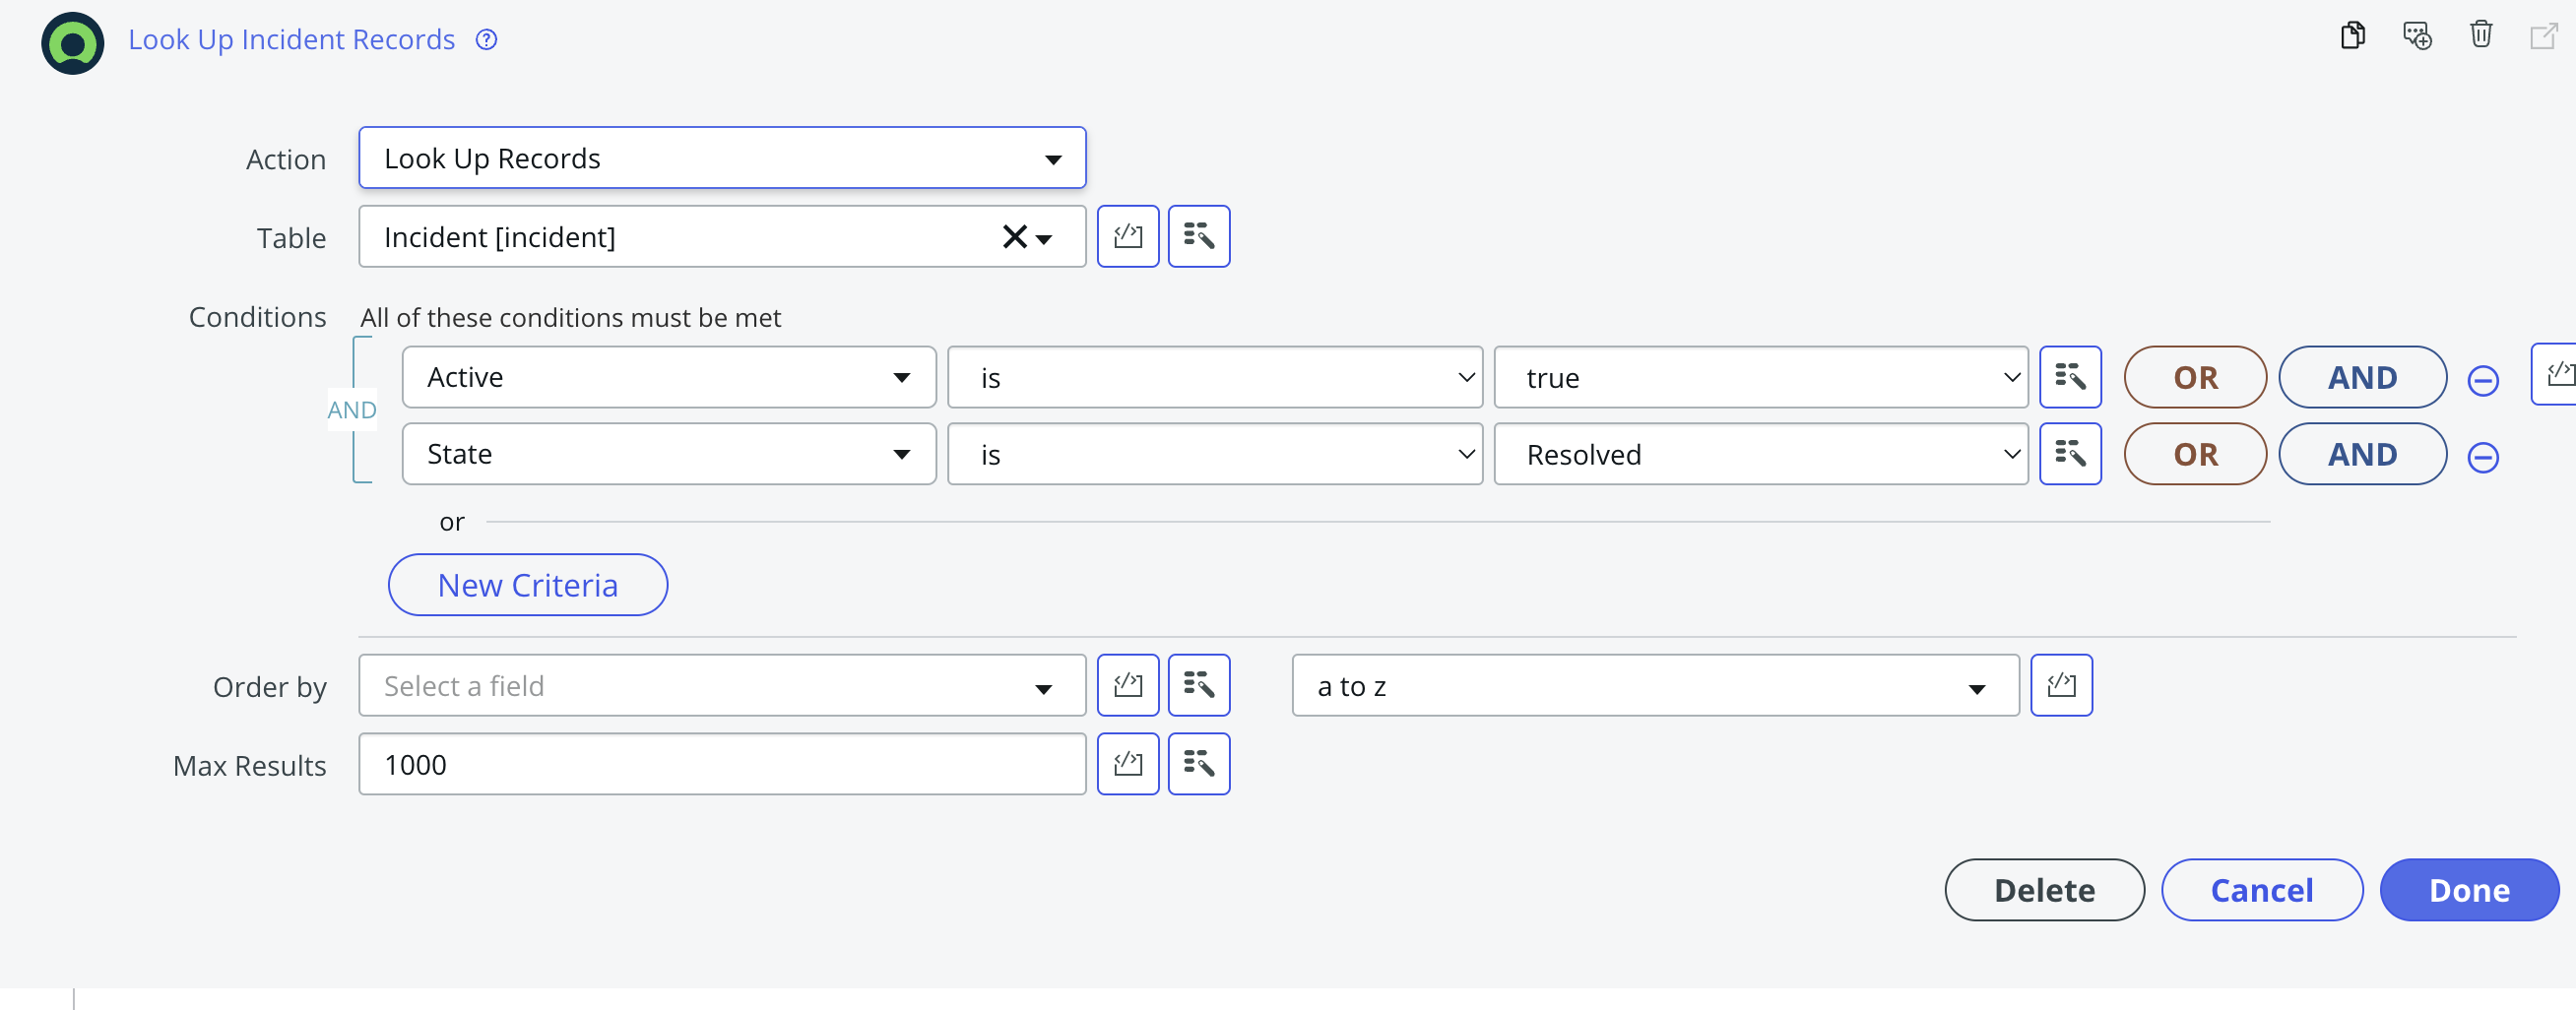
2. Configure the Action:
– Choose the table from which you want to fetch records, e.g., `Incident [incident]`.
– Define the conditions to filter the records. For example, `State is Resolved`.
– Store the output in a variable, for instance, `incident_records`.
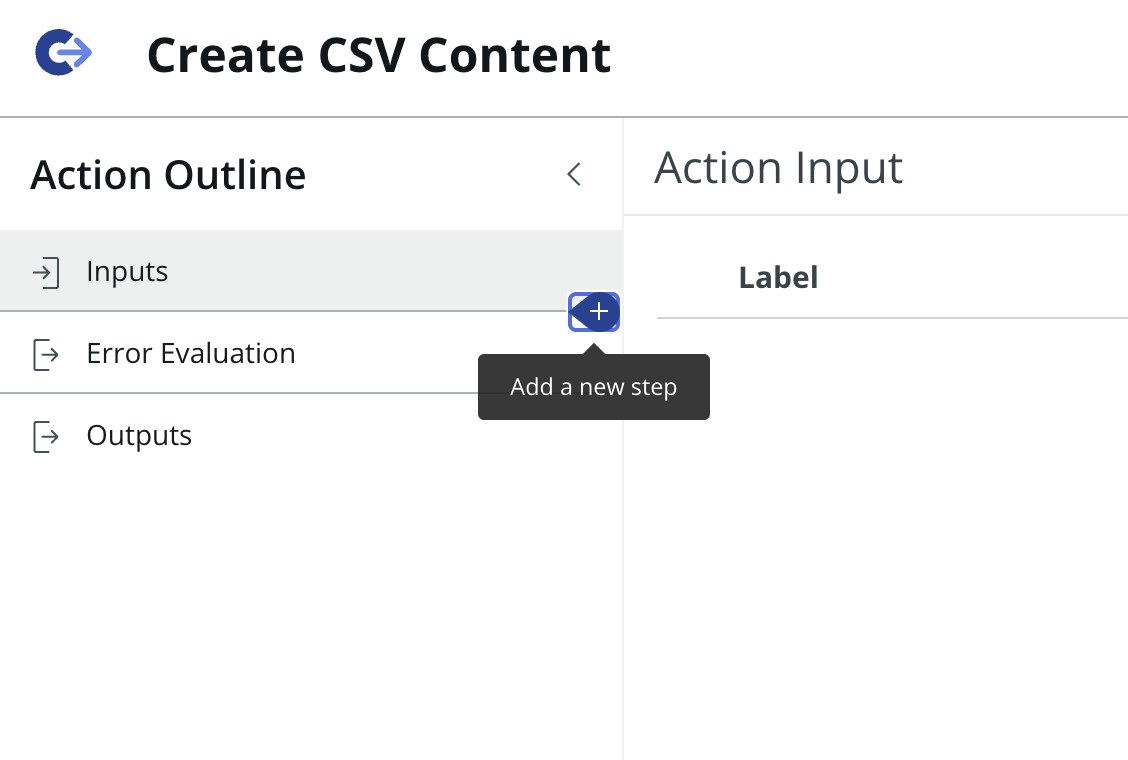
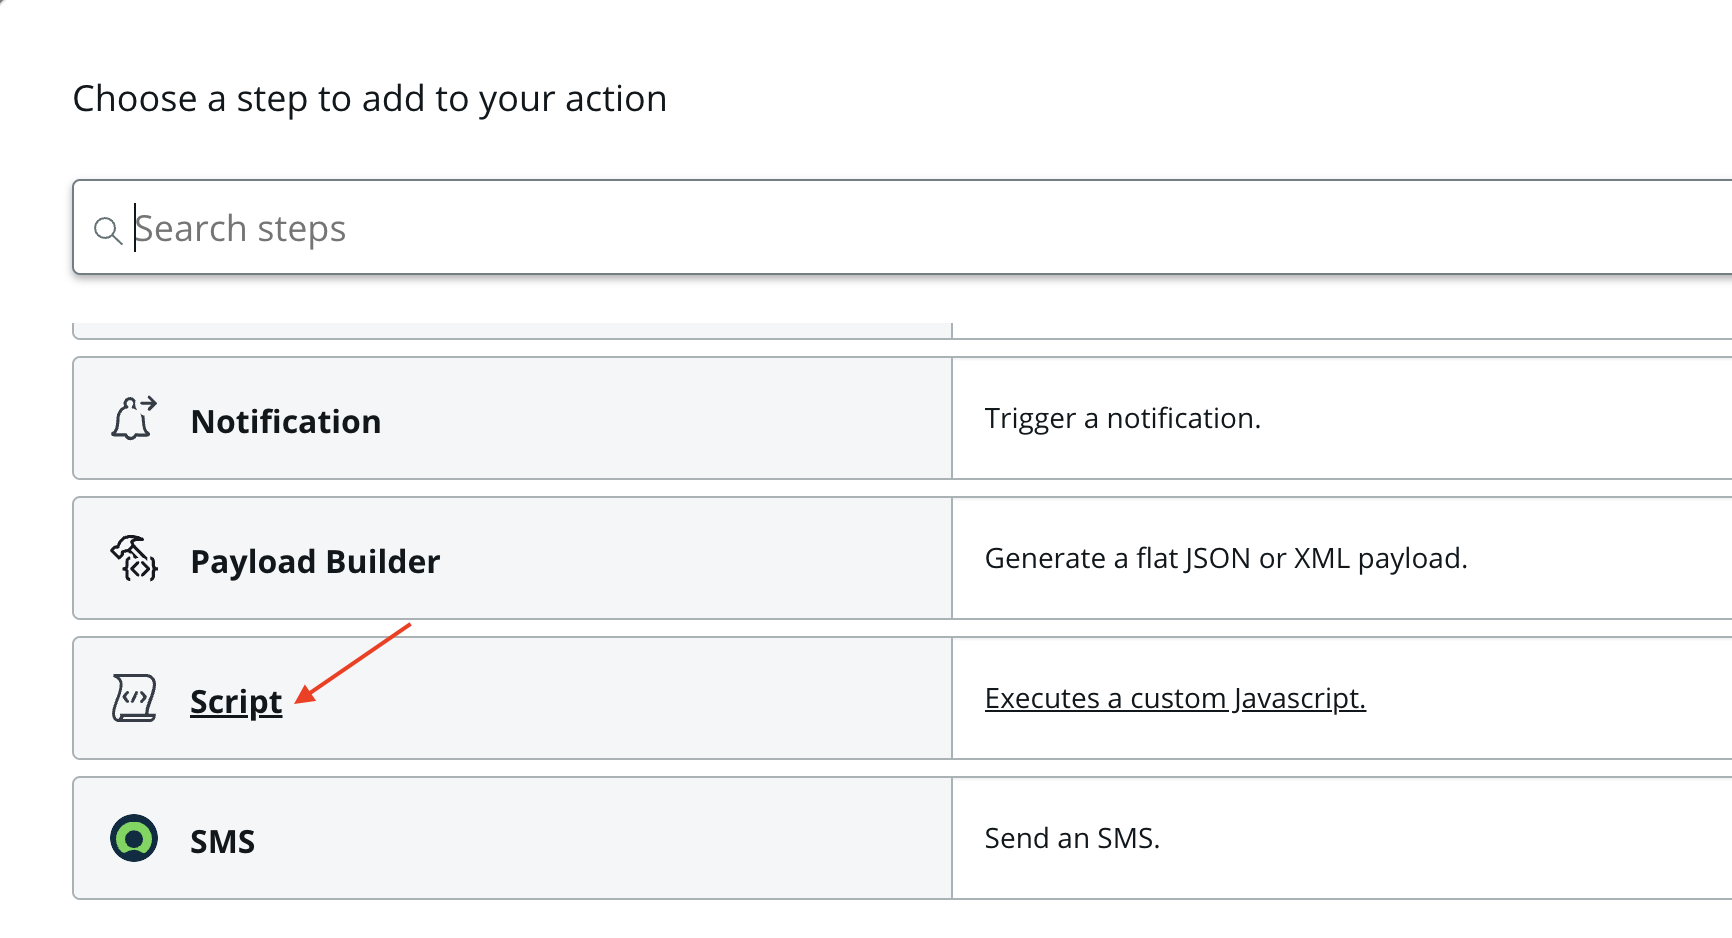
Step 5: Add an Action to Create CSV Content
To create a CSV file, you need to convert the fetched records into a CSV format.
1. Add Action:
– Click on `+` below the previous action.
– Choose `Script` as the action category.
– Select `Run Script`.
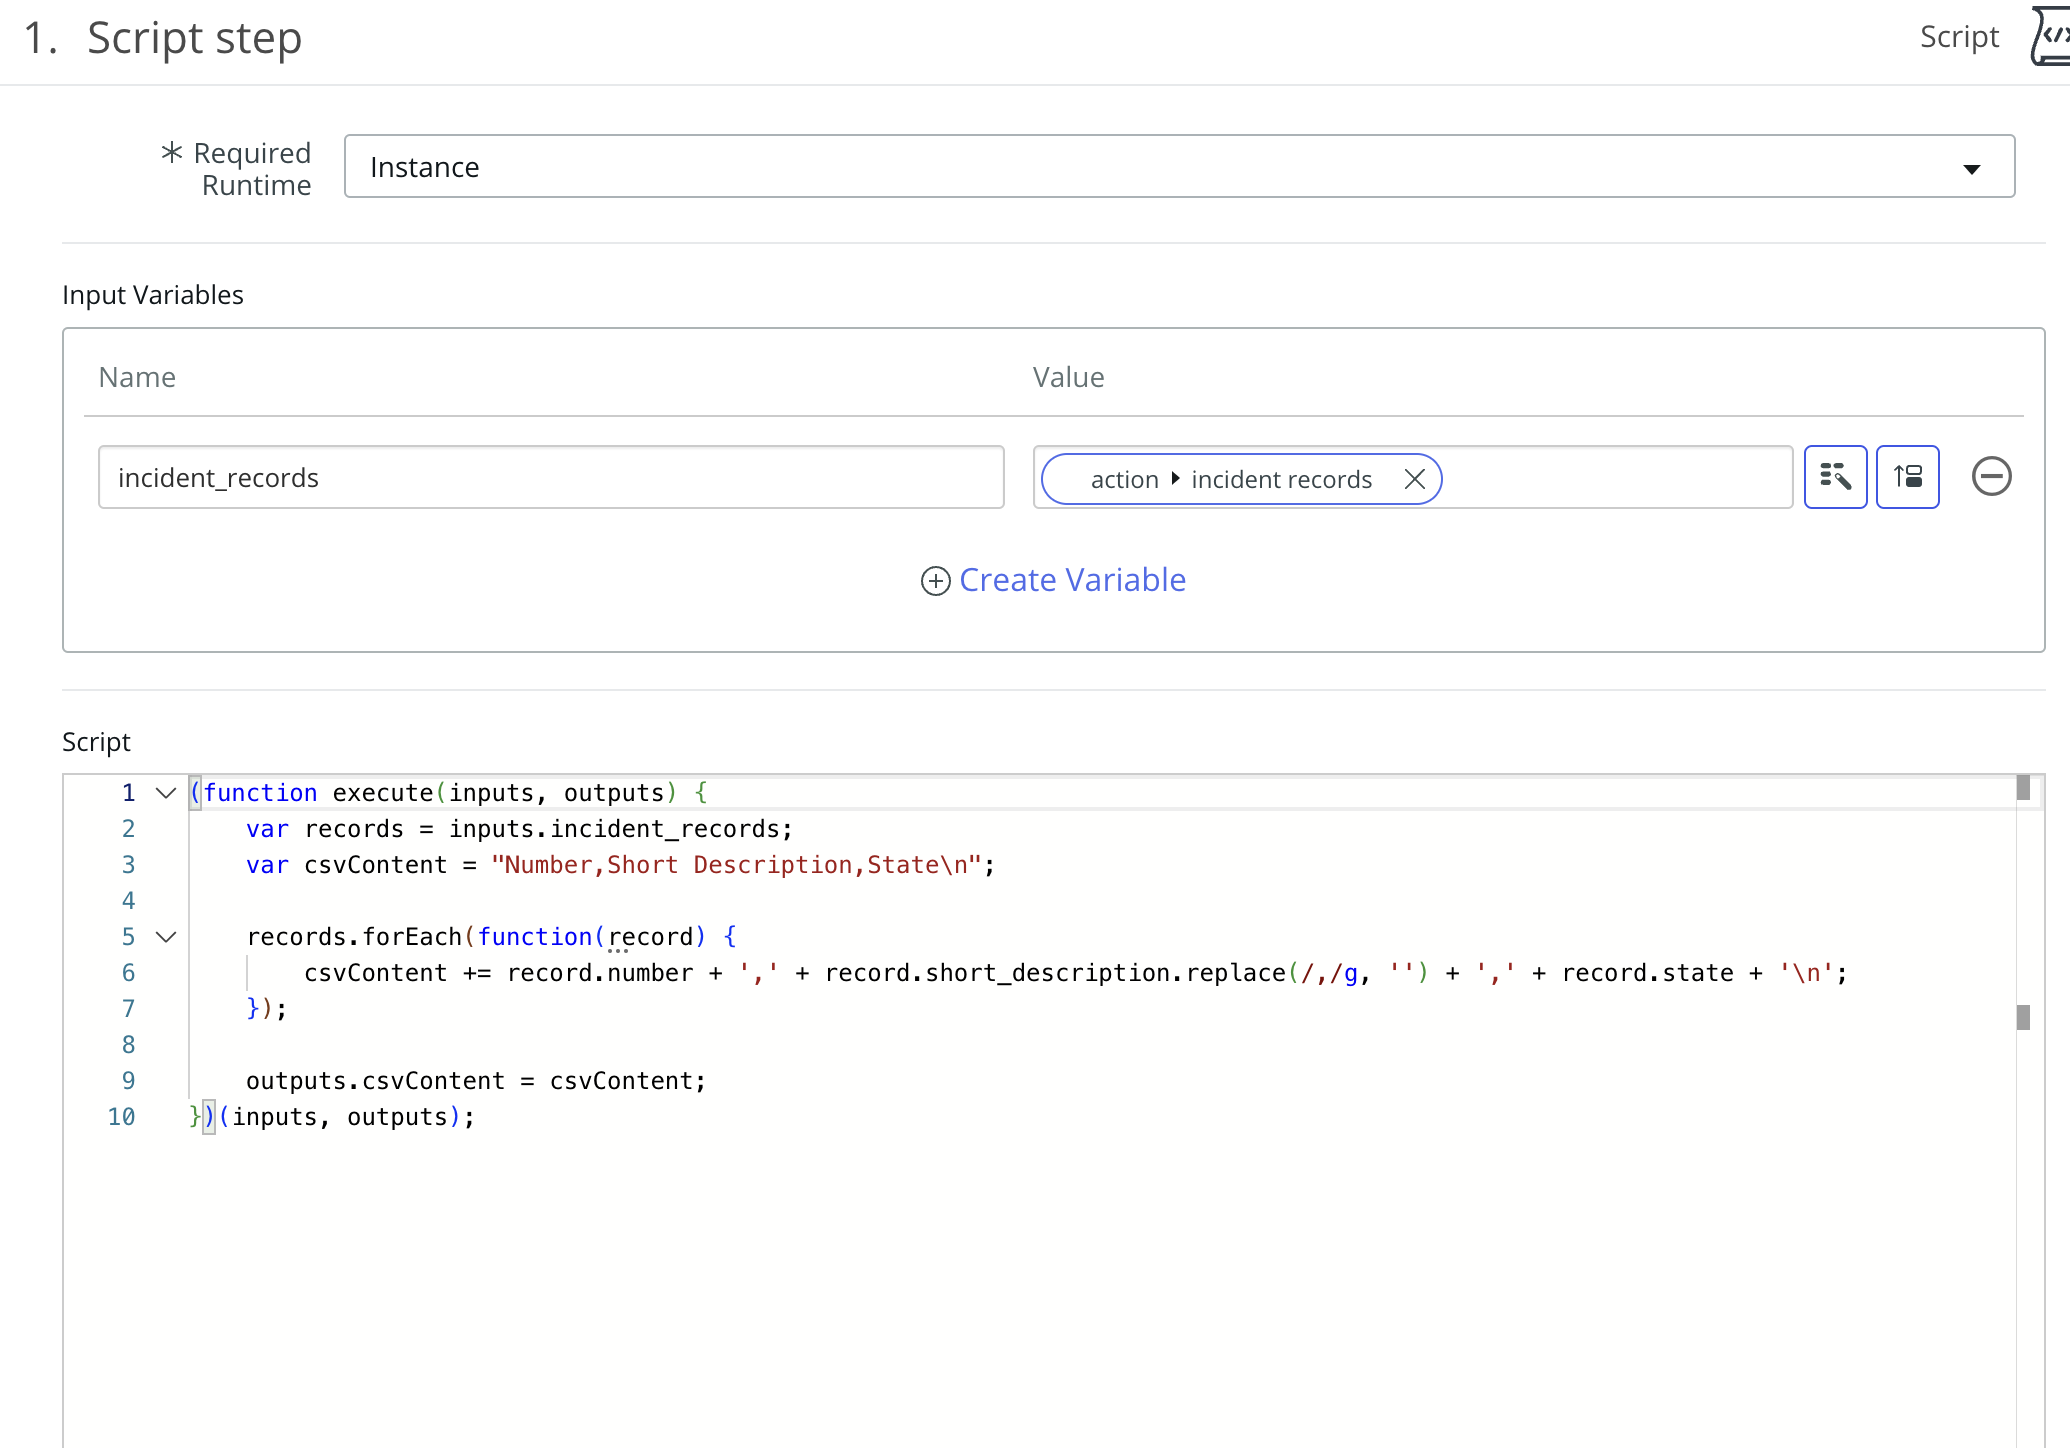
2. Write the Script:
– In the script editor, write a script that converts the records into CSV format. Here’s a sample script:
*javascript*
(function execute(inputs, outputs) {
var records = inputs.incident_records;
var csvContent = “Number,Short Description,State\n”;
records.forEach(function(record) {
csvContent += record.number + ‘,’ + record.short_description.replace(/,/g, ”) + ‘,’ + record.state + ‘\n’;
});
outputs.csvContent = csvContent;
})(inputs, outputs);
– This script assumes that you want to export the incident number, short description, and state.
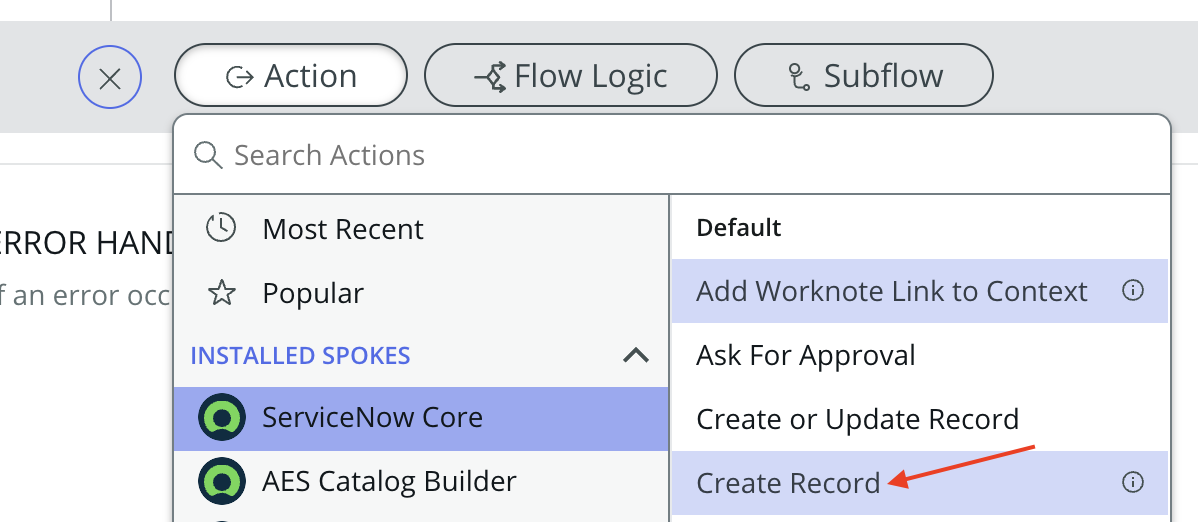
Step 6: Add an Action to Save the CSV File
The next step is to save the CSV content as a file in ServiceNow.
1. Add Action:
– Click on `+` below the previous action.
– Choose `ServiceNow Core`.
– Select `Create Record`.
2. Configure the Action:
– Select `Attachment [sys_attachment]` as the table.
– Set the `Table Name` to the table where you want to attach the file, e.g., `Incident [incident]`.
– Provide a name for the file, e.g., `Resolved_Incidents.csv`.
– Set the `Content` field to the `csvContent` variable from the previous script.
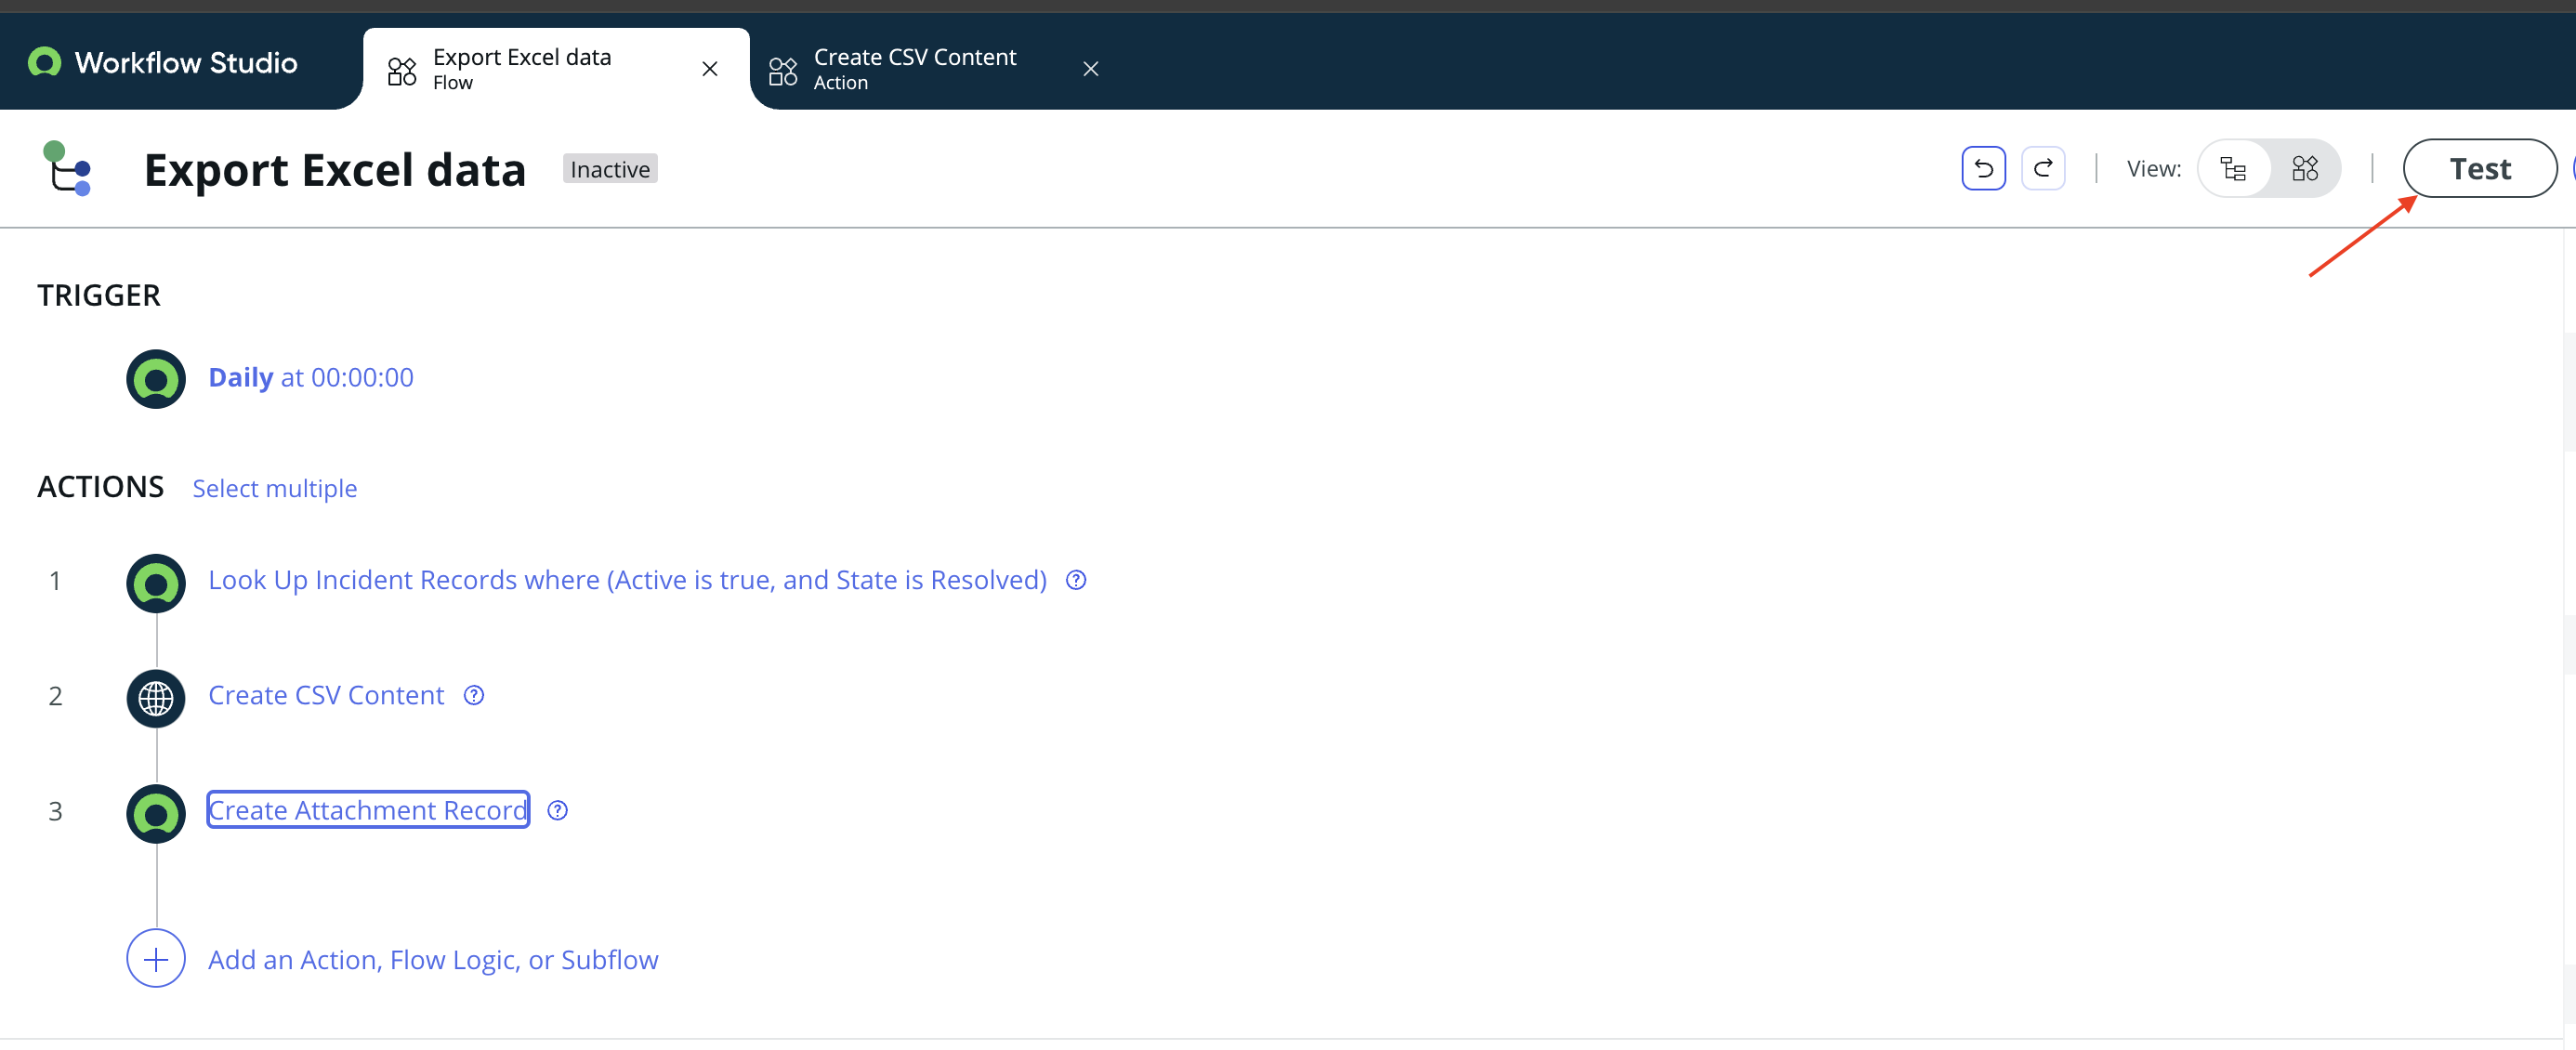
Step 7: Test the Flow
Before running the Flow in production, it’s crucial to test it.
1. **Save the Flow**: Ensure all steps are configured correctly and save the Flow.
2. **Test the Flow**: Click on `Test` to manually trigger the Flow and verify that it works as expected.
Step 8: Activate the Flow
Once you have tested the Flow and confirmed it works correctly, activate it by toggling the Flow status to `Active`.
Conclusion
With this Flow in place, you now have an automated process to export records from ServiceNow to a CSV file. This Flow can be further customized to meet your specific needs, such as exporting different fields, filtering records based on more complex criteria, or integrating the export process with other workflows.
Using ServiceNow’s Flow Designer to export records is a powerful way to automate data handling, saving time and reducing manual effort. Give it a try and see how it can streamline your workflows!
Date Posted:
November 5, 2024
Share This:


Fresh Content
Direct to Your Inbox
Just add your email and hit subscribe to stay informed.
